

FJORDEN GRIP QUICK START GUIDE

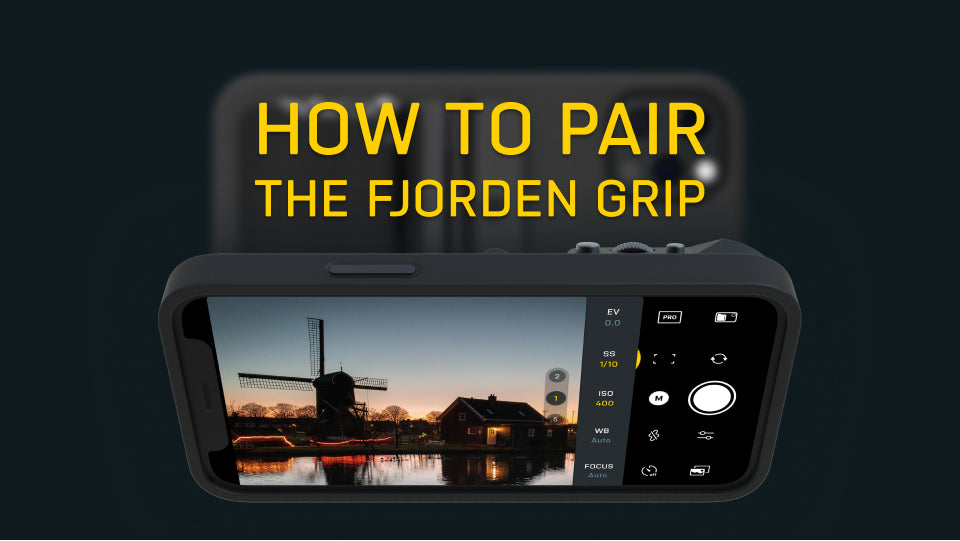
Start shooting with the Fjorden Grip within a minute!
Watch the video or follow the steps below.

Step 1
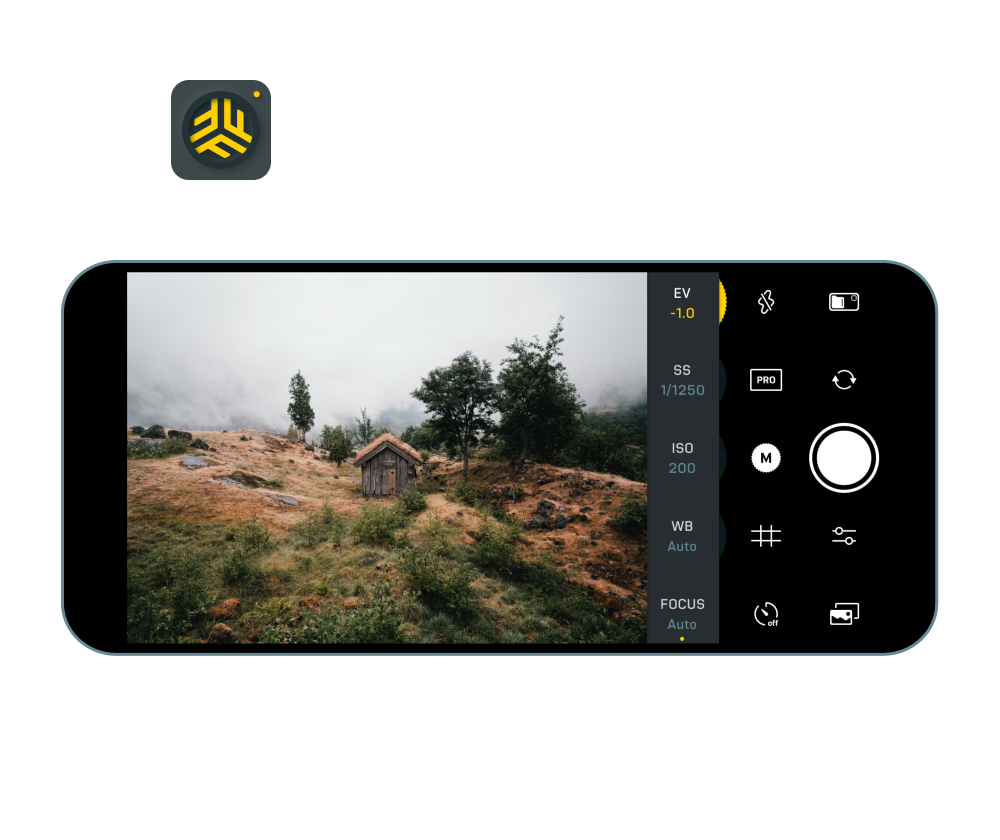
First, download and install the Fjorden Camera app.
Once installed, open it and follow the onboarding instructions on screen.

Step 2
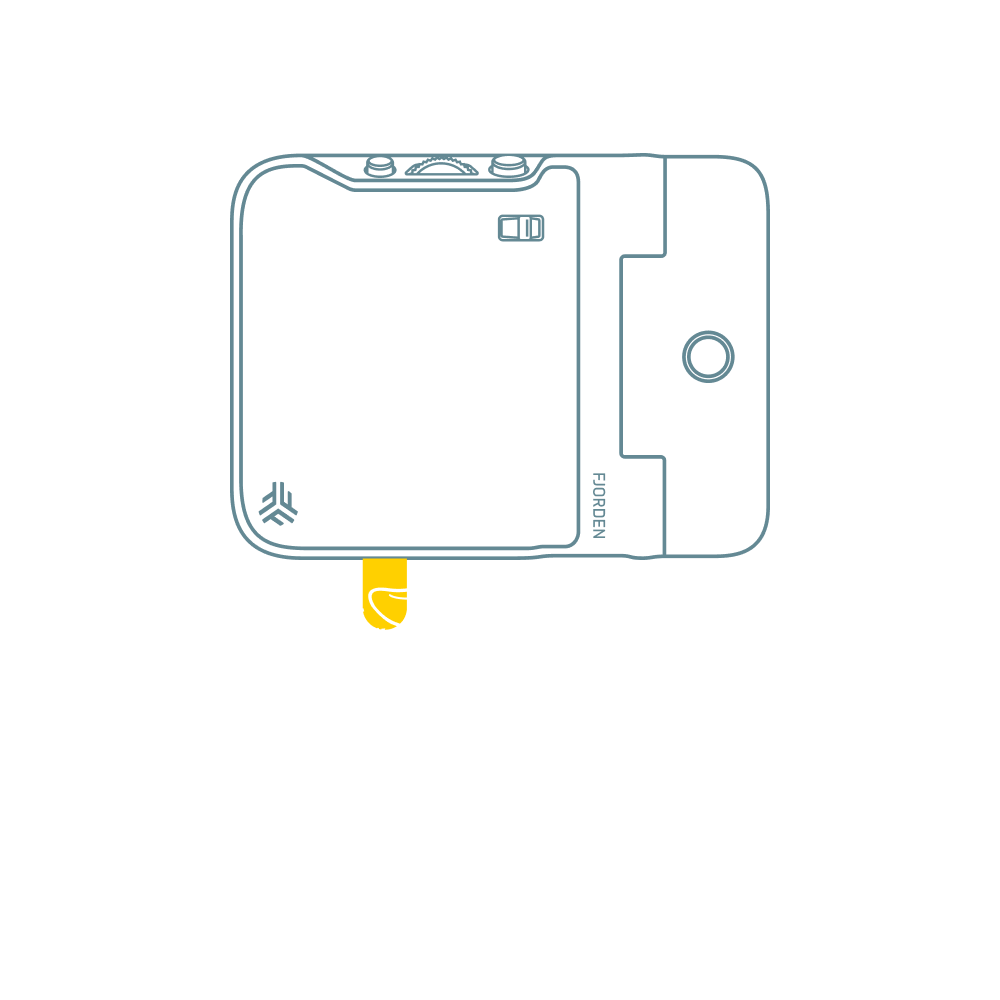
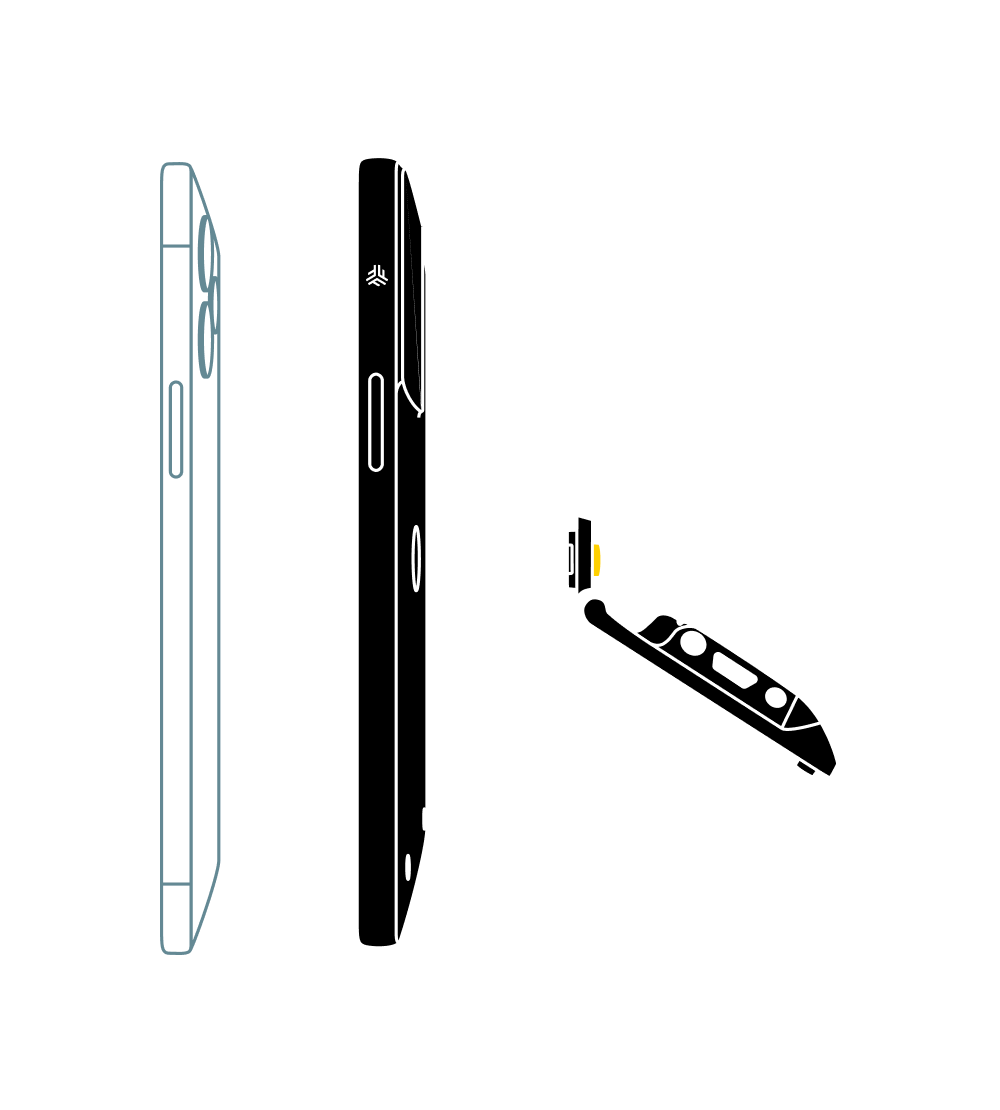
Pull out the paper tab sticking out of the battery tray from the bottom of your new Fjorden Grip.
After you remove the paper tab, press gently on the battery tray to make sure it stays flush with the grip.


Step 3
Then start the pairing process by tapping “Pair My Grip” from the onboarding screen or by accessing Grip Settings from the app’s main view.

Step 4
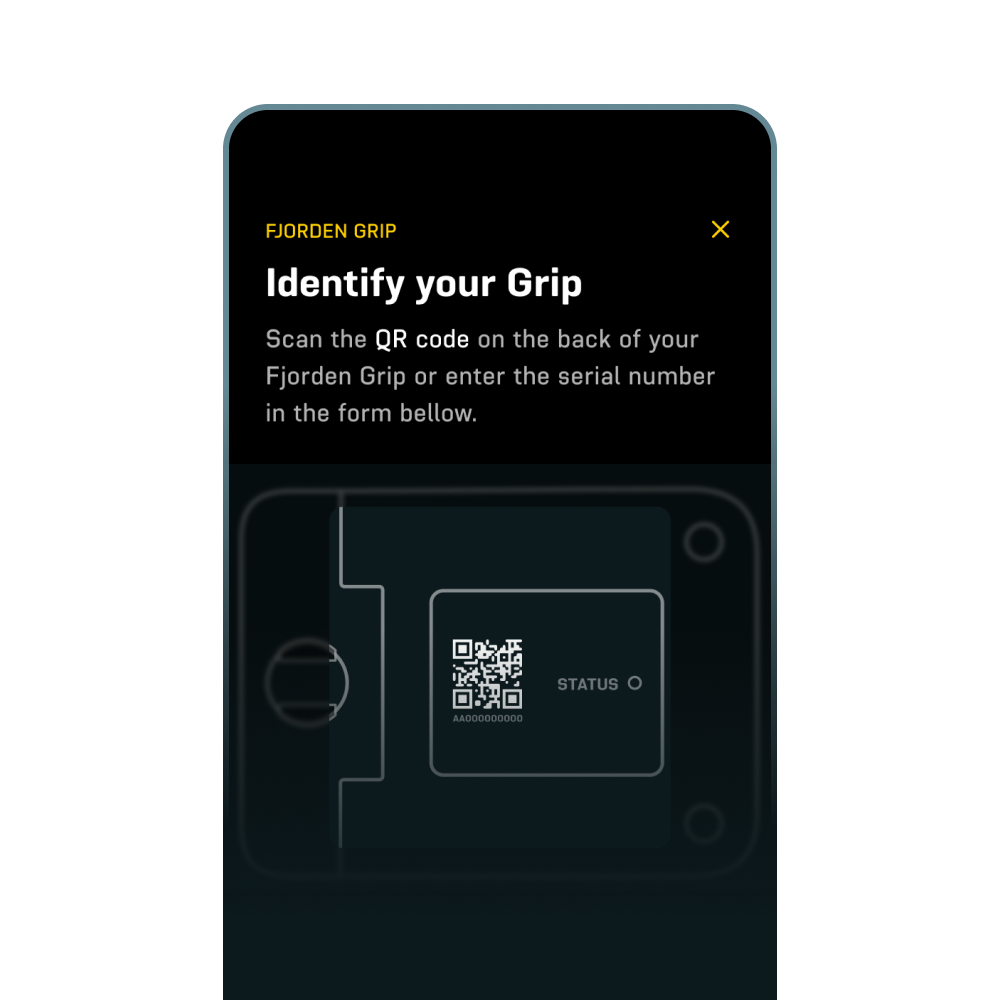
Scan the QR code on the back of your Grip or enter the Serial Number manually.

Step 5
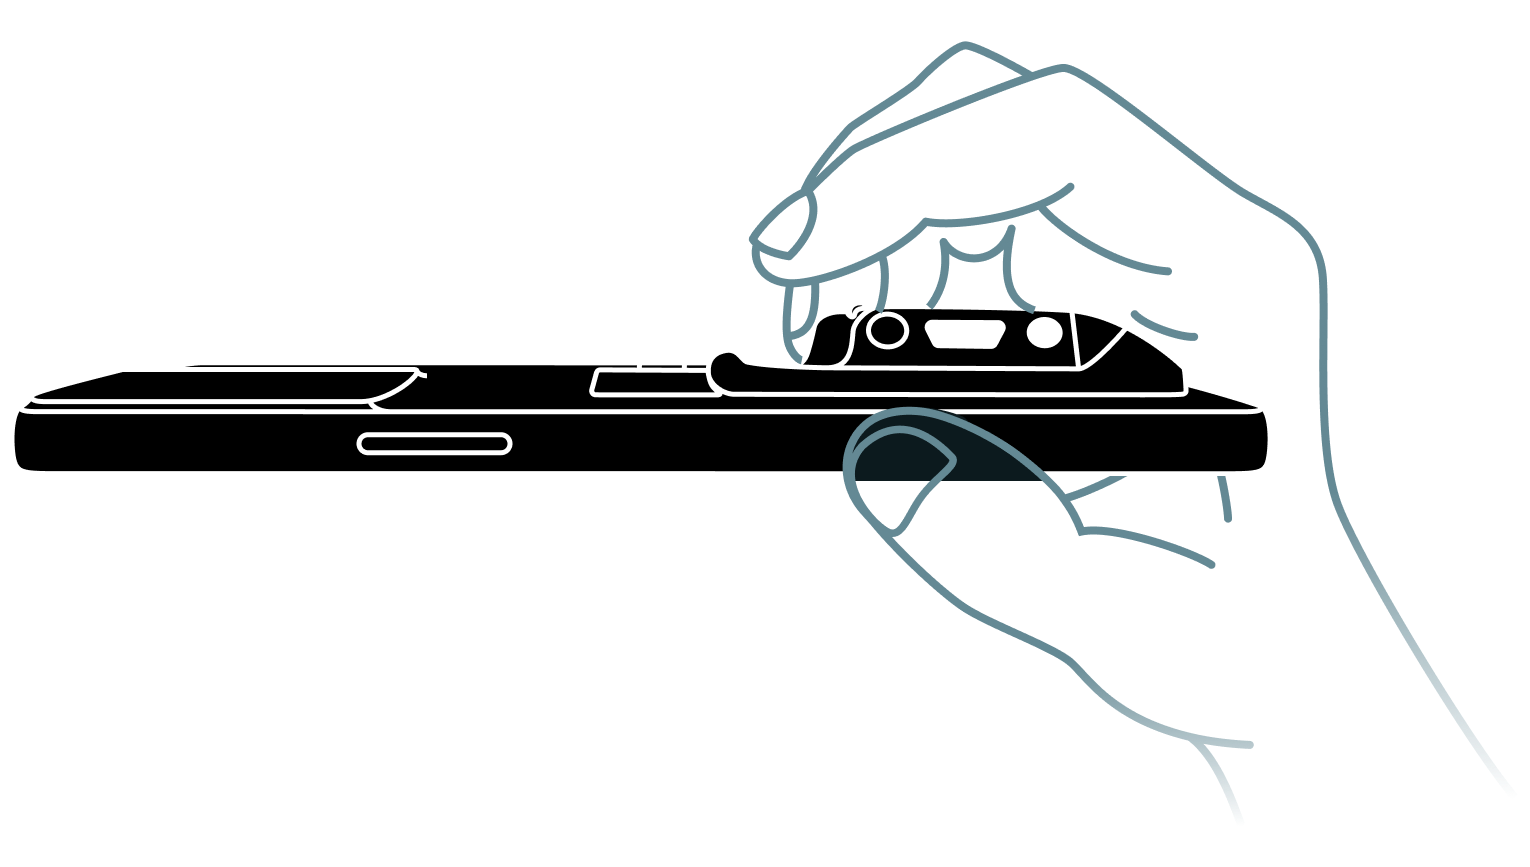
Press & hold the Shutter Button & Function Button on the Fjorden Grip, until the Status LED starts blinking (~5 seconds). The name of your Fjorden Grip should show up in the app.


Step 6
Tap on the + button once your Fjorden Grip appears on the Pairing screen. Your Grip should now be paired with the Fjorden Camera app!

Your grip is ready to shoot!
Enjoy your first #ShotOnFjorden !
Scroll down to learn how to use the Fjorden Grip or visit our Help Center if you have any questions about any of our products.
Fjorden Grip Overview
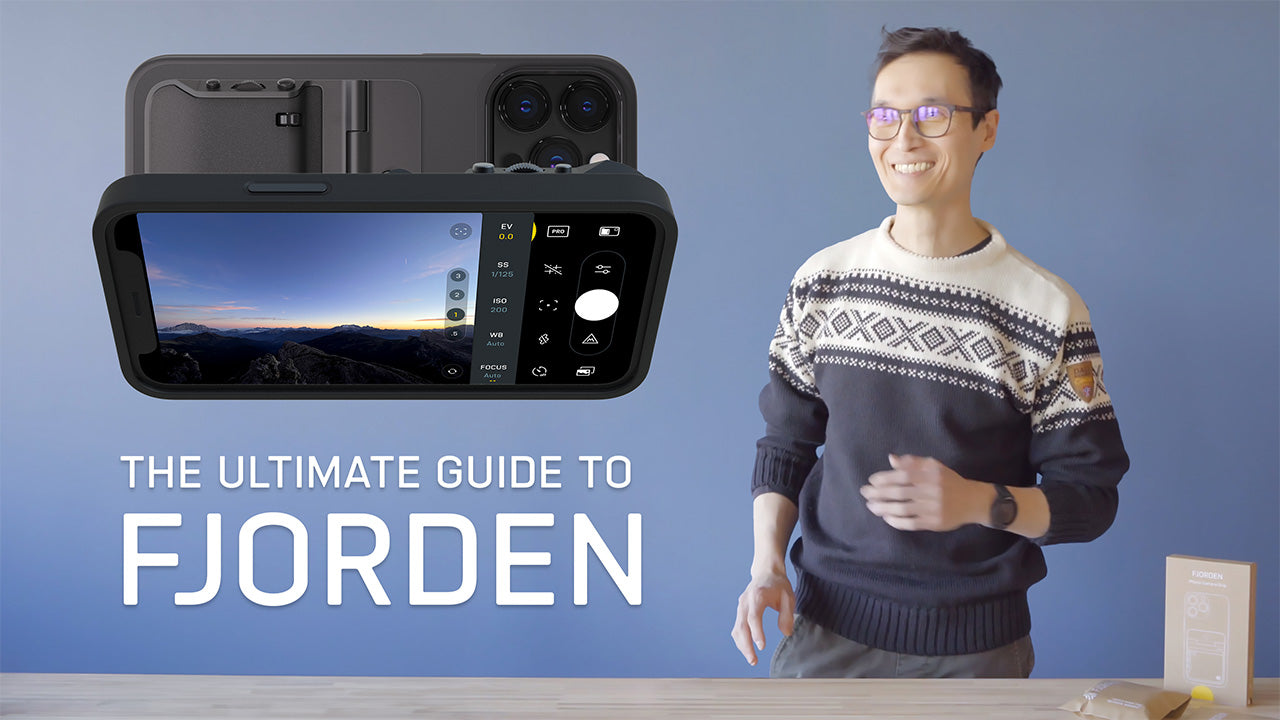
Scroll down to find out more about using the Fjorden Grip or watch the Ultimate Guide to Fjorden on bellow.


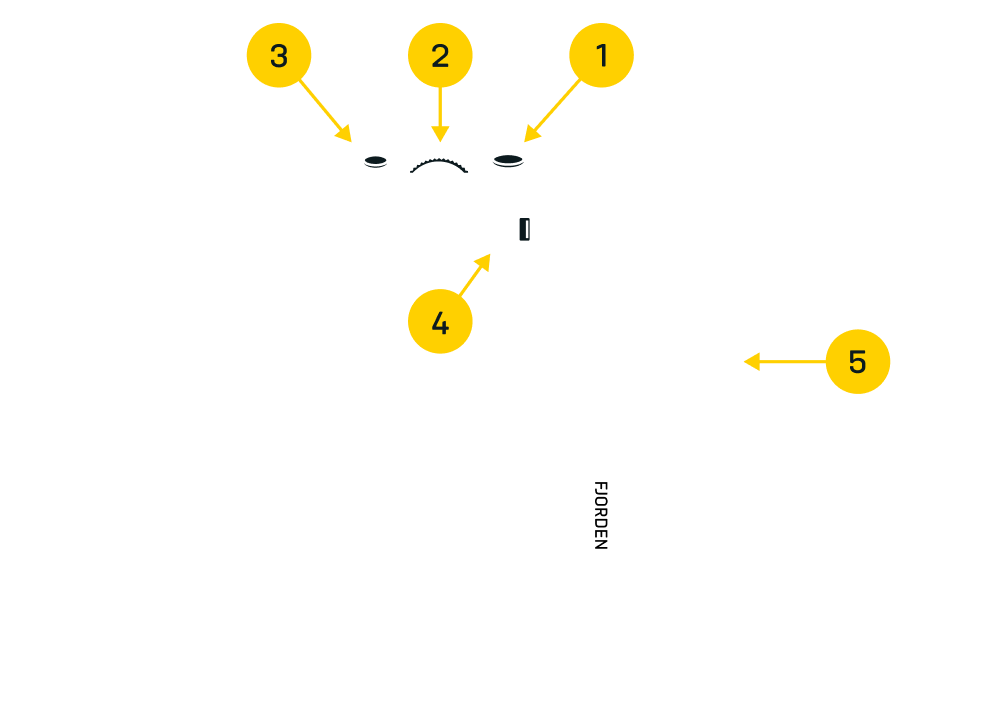
1. Two-Stage Shutter Button
2. Customisable Control Dial
3. Multi-Function Button
4. Zoom Lever
5. Quick-Release Button


6. Mounting mechanism
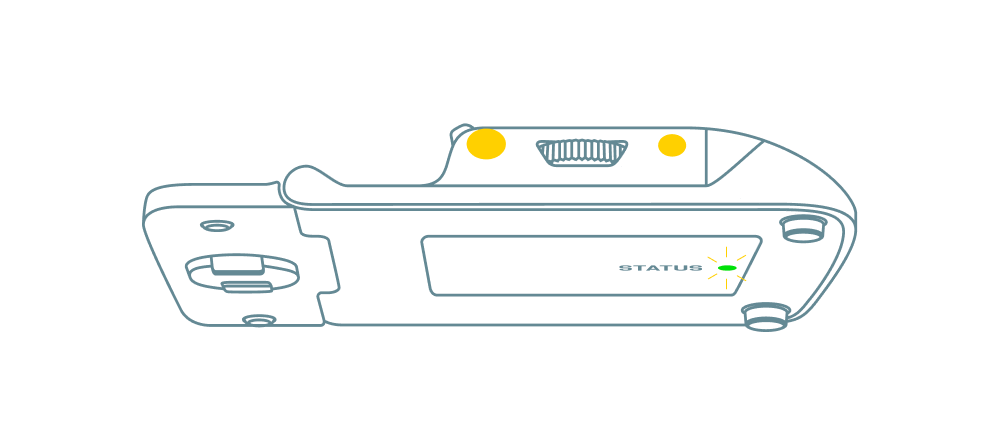
7. QR Code & Serial Number
8. Status LED

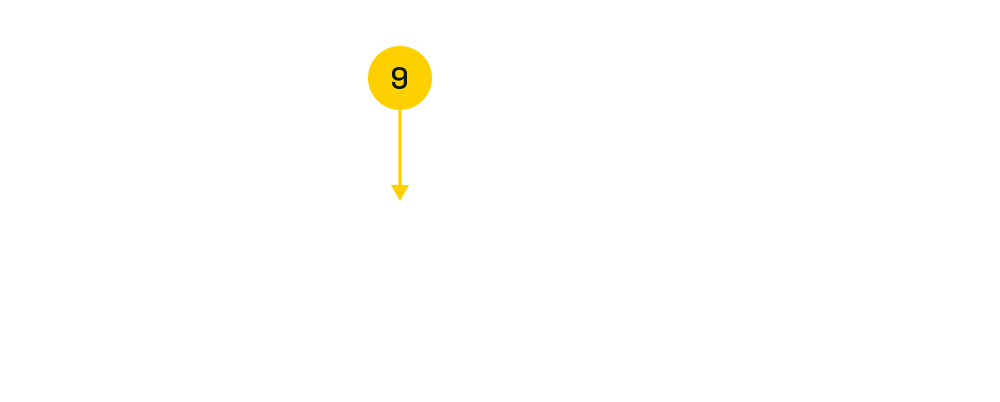
9. Battery Tray
How to mount the Fjorden Grip
Use either a Fjorden MagSafe Case (A) or the included Universal Adapter (B) to mount the Grip on your iPhone.

First, insert your iPhone into the Fjorden MagSafe Case.
Then align the Quick Release Button with the mounting point on the case and press gently until the Grip clicks in place.

If you don't have a Fjorden MagSafe case, use the included Adapter Plate:
• Make sure the surface is thoroughly clean and dry before applying the adapter plate.
• Peel off the protective cover from the adapter
• Stick it on the lower half of your iPhone or existing case.
• Then align the Quick Release Button with the mounting point on the adapter and press gently until the Grip clicks in place.
How to use
the Fjorden Grip

Hold it like a DSLR
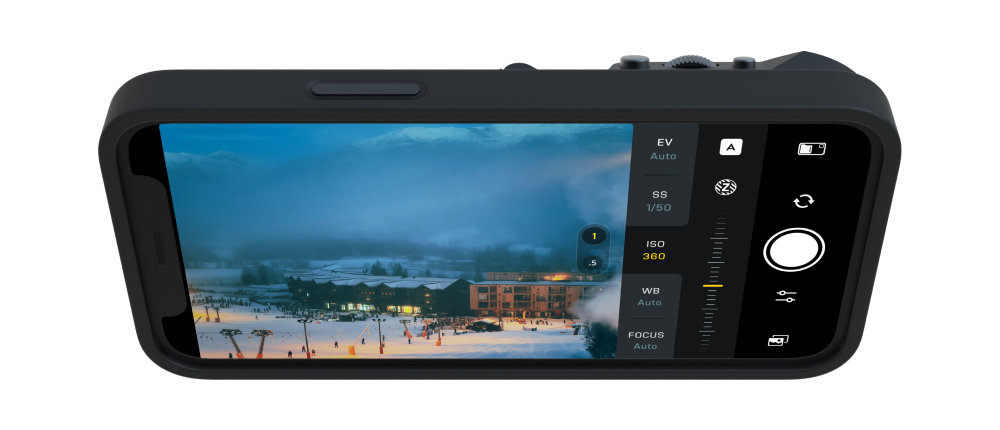
With the Fjorden Grip mounted you can finally hold your iPhone like a traditional camera when you're taking photos.

Take a photo
Half-press the Shutter Button to lock focus on a subject.
Full-press the Shutter Button completely to capture a photo.
Change the position of the focus point by tapping anywhere on the Viewfinder.


Adjust Exposure
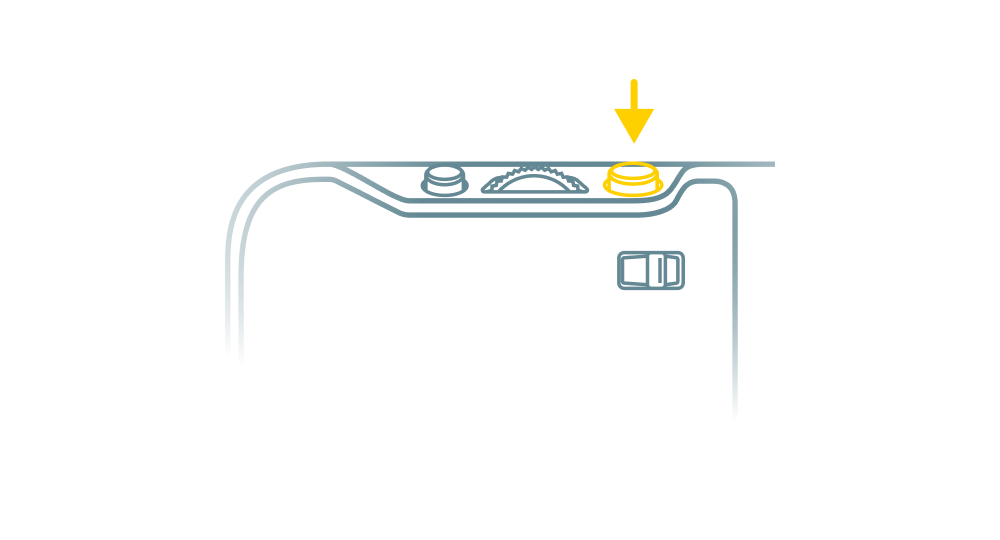
Rotate the Control Dial left or right to adjust the value of a parameter. The currently selected parameter is indicated by the yellow dial.
Press the Control Dial to toggle between adjustable parameters (Exposure Compensation, Shutter Speed, ISO or White Balance)

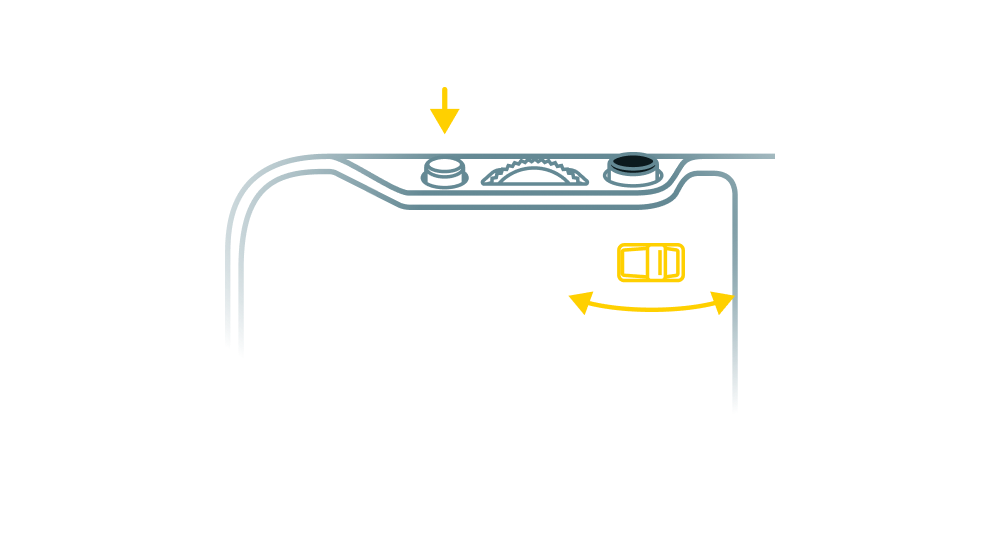
Zoom in & Out
Pull the Zoom Lever slowly to the right to zoom in.
Push the Zoom Lever slowly to the left to zoom out.
Flick the Zoom Lever to quickly switch between your iPhone's lenses.
Press the Function Button to switch to the front facing camera.

Customise the Fjorden Grip
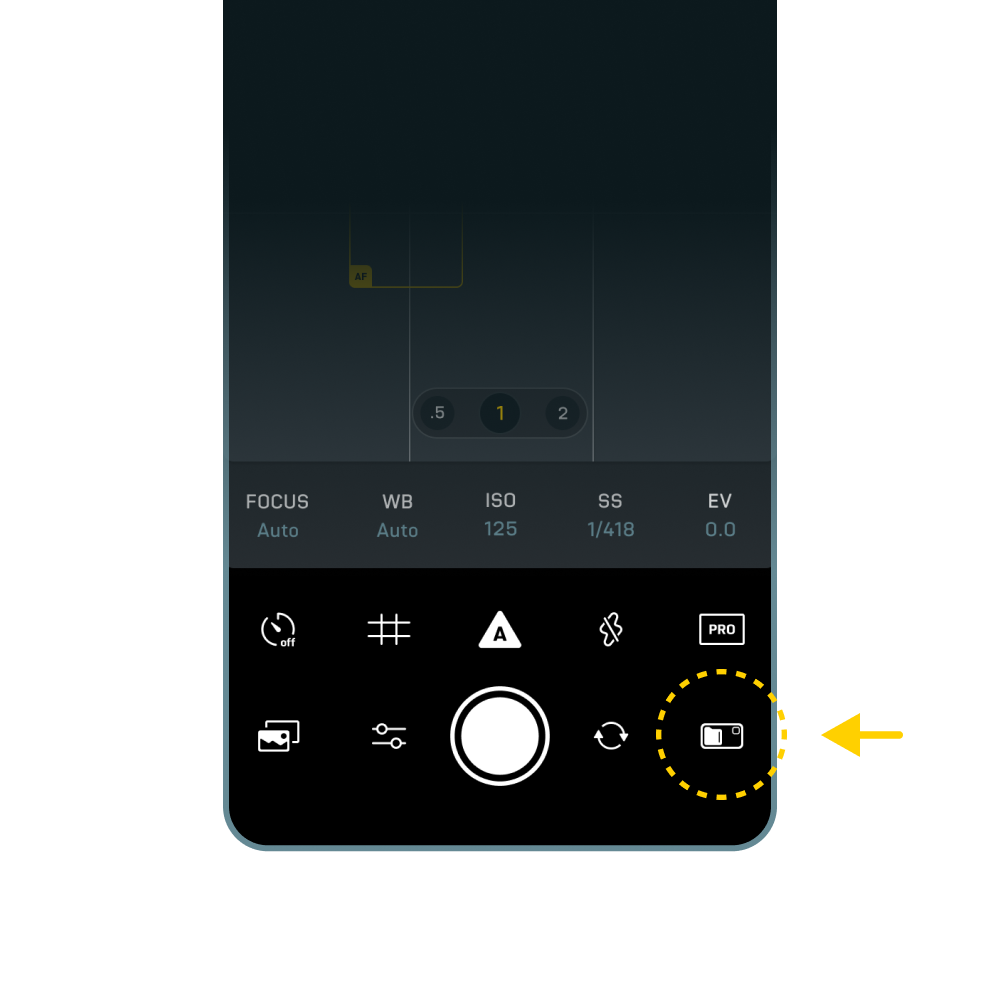
You can customise the functionality of the Control Dial and Function Button from the Grip Settings inside Fjorden Camera.
The Fjorden Grip needs to be connected to your iPhone.


On/OFF
The Fjorden Grip will turn off automatically after 5 minutes of inactivity.
Press the Shutter Button to turn it back on.
Visit our Help Center
If you have any unanswered questions about the Fjorden Grip or the Fjorden Camera app, please visit our Help Center or get in touch with as at hello@fjorden.co.